Bread for the week in less than 3 hours.

One of the most frequent questions I get about baking bread is “How do you fit it into your schedule?” It is a valid question especially in our busy society. The rhythm of food today is fast – fast food, frozen food, instant pots, microwaves etc. There are a few possible answers to this question…a bread machine is one option. It can be a great solution especially if you aren’t at home. If that is all you can do – I encourage you to use a bread machine. If I am being perfectly honest though, I think we still miss a lot by using a bread machine – you don’t learn the feel of the dough, recognize the rise…there is something peaceful about working with dough and making something with your own hands that provides food for your family. In the case of fresh milled bread it is providing 40 of the 44 nutrients your family needs.
I would like to offer an alternative to the bread machine. This recipe only has 1 rise. It makes 4 loaves at a time. You can make your bread for the week in less than 3 hours (and that includes clean up). I encourage you to see if you can find a little time in your schedule. I hope you try it and love it! I hope it makes bread making easier than it has ever been and gives you the confidence to try new recipes because you know you have your “daily bread” ready and waiting.
The Easiest Fresh Milled Sandwich Bread
One rise, 4 loaves. Bread for the week in less than 3 hours.
Ingredients
- 12-13 cups fresh milled hard white wheat
- 5 cups warm water between 105-110 degrees
- 3/4 cup honey
- 1/3 cup oil I use avocado oil
- 1 egg
- 4 tsp salt
- 3 TBS instant yeast
- 2 TBS gluten optional – I don't use it but if you want a blue ribbon rise, give it a try.
Instructions
-
Combine water, yeast, & 4 cups flour in a mixing bowl. This will create a sponge. Let it sit for 15 minutes to get bubbly.
Add the rest of the ingredients & 8 more cups flour. Using a dough hook, knead until you have a soft dough that does not stick to the sides of the bowl It is fine if it still sticking a little bit to the bottom of the bowl. You may need to add more flour to get this consistency. Add 1-2 TBS at a time to make sure you don't add too much flour. Knead around 6 minutes – dough should be soft and elastic.
Spray your loaf pans with oil.
Remove dough from the bowl and form into 4 loaves. Place in the loaf pans, cover (I use shower caps) and allow to rise until doubled, about 1 hour.
Preheat oven to 350F a few minutes before you think the loaves are done proofing.
Bake for 30 minutes. The bottom of the loaf should be a golden brown. You can check by carefully tilting the pan (use oven mitts or pot holders to protect your hands) and letting the loaf fall into your (oven mitted) hand. If the bottom of the loaf is pale, let it tilt back into the loaf pan and put it back in the oven for 5 more minutes then check again.
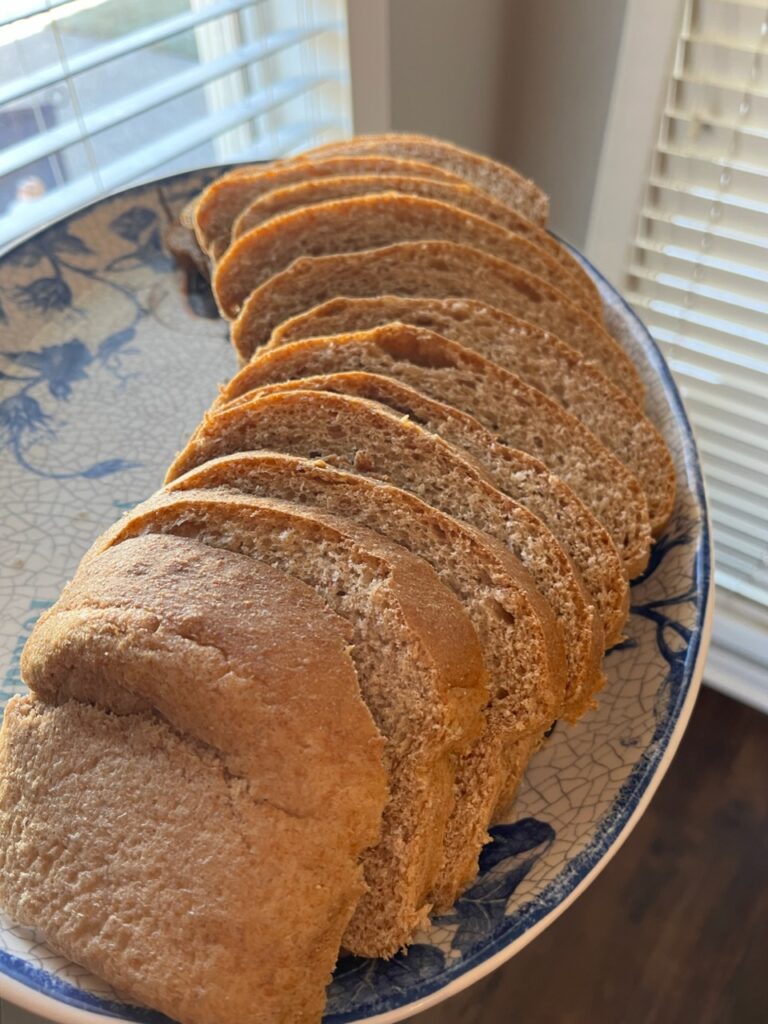
When done, remove the loaves from the pans and let them cool on a wire rack. Do not cut into them until they are cool.
Once they are cooled, place them in bags and freeze a few of the loaves for later in the week. 8-12 hours before you need the frozen loaf, get it out of the freezer and place it on your counter to thaw to room temp. I usually let it thaw over-night.