
Are you ready to start baking with fresh milled grains but still feel a little intimidated? Well, get ready to find out how easy making your own bread from scratch can be! This recipe is a great introduction to the magic of making fresh-milled sandwich bread. You can make it using a stand mixer (like I do) or you can put it in your bread machine.
If you want to know more about the benefits of fresh milling, check out this post where I talk about its incredible flavor, unique texture, and the wholesome goodness that comes from milling your own flour.
Whether you’re an experienced bread baker or a curious foodie looking to try something new, I would love to help guide you through the art of fresh-milled baking. Get ready to roll up your sleeves, dust off your milling machine (or coffee grinder), and embark on a delicious adventure that will elevate your sandwich game to new heights.
There’s something truly special about the process of making your own bread from scratch, and fresh-milled flour adds a whole new dimension to that experience.
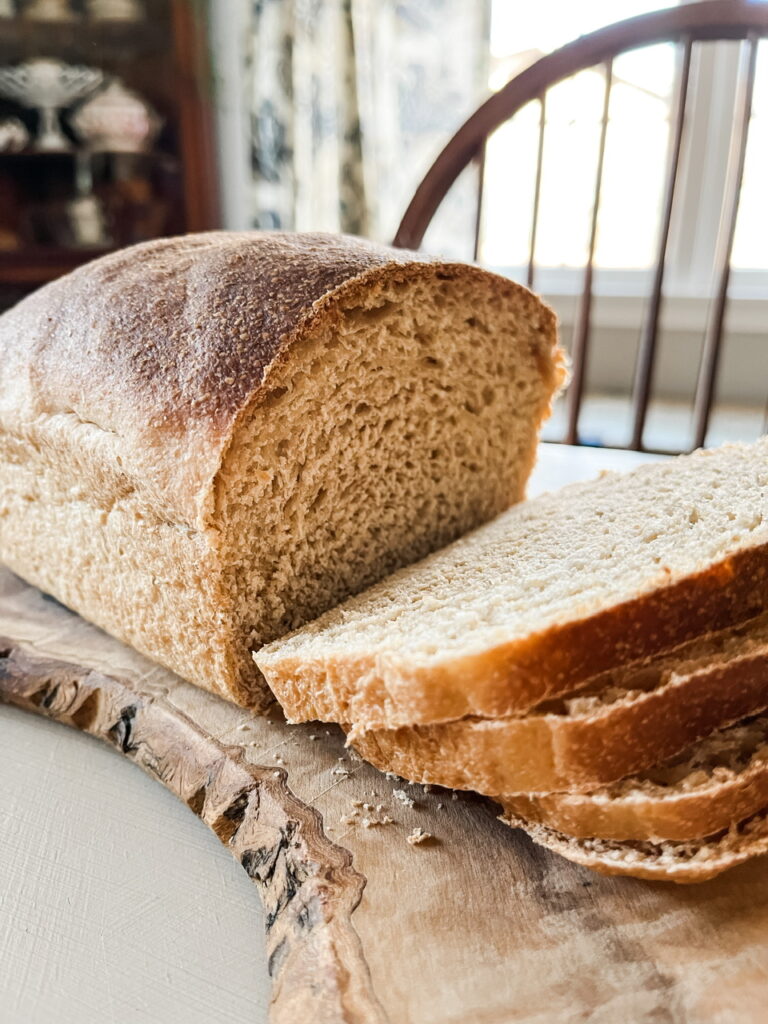
Basic Fresh Milled Bread
This is a basic loaf I adapted from Sue Becker's recipe. It is a great starter recipe and is very versatile, you can make sandwich bread, dinner rolls, cinnamon rolls, & even pizza dough with it. You can double the recipe & freeze the extra baked bread or rolls for later.
Ingredients
- 1 cup hot water
- 1/2 cup milk or whey
- 1/3 cup avocado oil
- 1/3 cup honey or sweetener of choice
- 2 tsp salt
- 1 TBS sunflower lecithin
- 4-5 cups fresh milled flour my favorite is hard white wheat
- 1 TBS instant yeast
- 1 TBS gluten optional
Instructions
-
Mix water, milk, oil, honey, salt, and egg. Add lecithin, gluten, half of flour. Mix thoroughly. Add yeast and enough flour to make a soft dough. Knead until smooth and elastic (about 5-6 minutes). Let rise until double. Shape as desired (see ideas below) and let rise again until double. Bake at 350F for 30-40 minutes.
How to shape a sandwich loaf
-
Shaping dough for a sandwich loaf is an art that can take your homemade bread to the next level. Here's a quick guide to help you achieve that picture-perfect shape for your loaf:
After your bread dough has completed its initial rise, gently deflate it and transfer it to a lightly floured surface.
Using your hands or a rolling pin, flatten the dough into a rough rectangle shape, ensuring it's evenly thick throughout.
Starting from one of the shorter sides, tightly roll the dough into a log, tucking in the edges as you go. Apply gentle pressure to create a firm, compact roll.
Once the dough is rolled up, pinch the seam to seal it. This will help maintain the loaf's shape during baking.
With the seam side facing down, place the rolled dough into a greased or parchment-lined loaf pan. Make sure the ends of the dough are touching the ends of the pan.
Gently press and shape the dough to fill the pan evenly, ensuring there are no gaps or air pockets.
Cover the pan with a plastic wrap or a clean shower cap and let the dough rise again until it reaches the desired height. This second rise will help the loaf develop a light and airy texture.
Once the dough has risen, it's ready to be baked! Preheat your oven to the recommended temperature and carefully transfer the pan into the oven.
Bake the loaf until it turns golden brown and sounds hollow when tapped on the bottom. This usually takes around 30-40 minutes, but keep an eye on it to avoid over-browning.
Once baked, remove the pan from the oven and let the loaf cool for a few minutes before transferring it to a wire rack to cool completely.
How to shape dinner rolls
-
Once your bread dough has completed its initial rise, gently deflate it and transfer it to a lightly floured surface.
Divide the dough into equal portions, depending on the desired size of your dinner rolls. A kitchen scale can help ensure uniformity if desired.
Take one portion of dough and gently flatten it into a small round disk using the palm of your hand.
Fold the edges of the disk towards the center, creating a neat ball shape. Rotate the ball a few times on the surface, using your hands to lightly seal the edges at the bottom.
Cup your hand over the dough ball and, using a circular motion, gently roll it on the surface to create tension and a smooth top.
Place the shaped roll onto a greased or parchment-lined baking sheet, leaving some space between them for expansion during the final rise.
Repeat steps 3-6 with the remaining portions of dough, shaping each one into a round roll.
Once all the rolls are shaped and placed on the baking sheet, cover them with a clean kitchen towel or plastic wrap and let them rise until they have doubled in size. This final rise will give the rolls their fluffy texture.
Preheat your oven to the recommended temperature and, if desired, brush the rolls with an egg wash or melted butter to enhance their appearance and flavor.
Bake the rolls in the preheated oven until they turn golden brown, usually around 12-15 minutes. Keep a close eye on them to prevent over-browning.
Once baked, transfer the rolls to a wire rack to cool slightly before serving. They are best enjoyed warm from the oven, ready to accompany your favorite meals.


