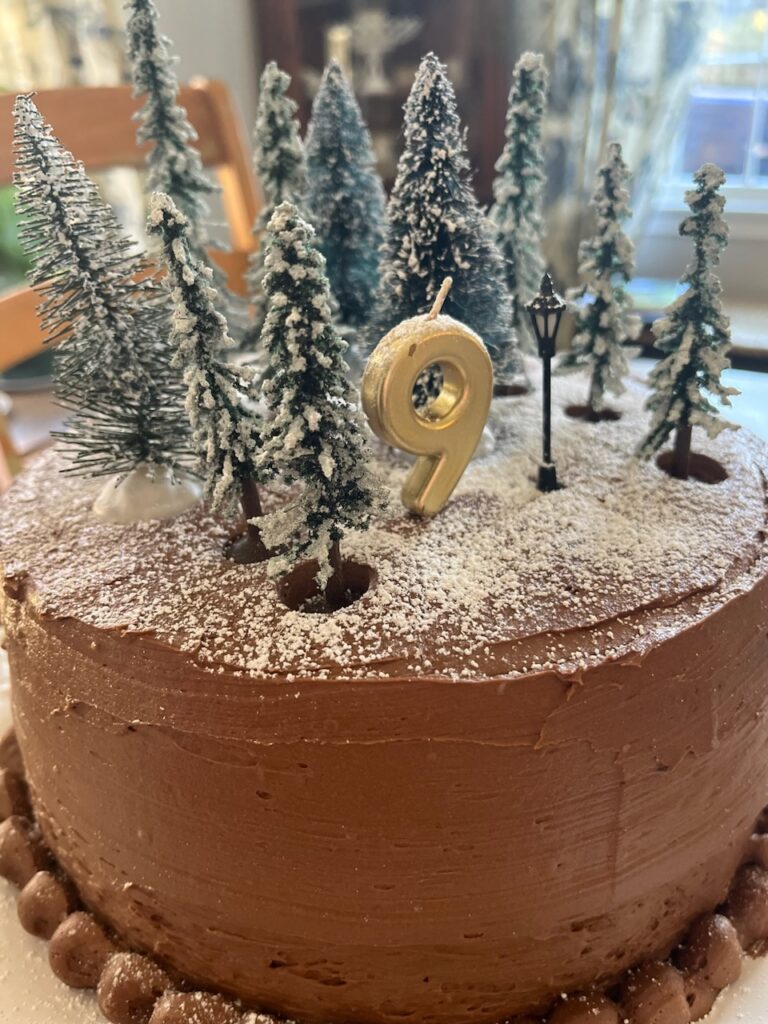
Hello, baking enthusiasts! It’s that time of the year again – birthday season in our home! All 4 of my kids have birthdays every 3 weeks starting the first week of April and ending in May. And what better way to celebrate than with a delicious homemade cake made with freshly milled flour? Today, I’ll share with you a mouthwatering, moist, and flavorful birthday cake that I made for my daughter’s 9th birthday and I will be definitely using it in future. So let’s get our aprons on and start baking!
Step 1: Milling Your Flour The secret to the incredible taste and texture of this birthday cake is using freshly milled flour. Milling your flour at home allows you to have complete control over the quality and freshness of the flour, resulting in a cake that is superior in flavor and nutrition. I recommend using a high-quality grain mill to mill your flour from soft wheat flour or spelt. Measure out the amount of flour you’ll need for your cake and mill it just before you start baking for the best results.
Step 2: Gathering Your Ingredients
To make this birthday cake, you’ll need the following ingredients:
2 cups fresh milled soft wheat flour, sifted*
2 tsp baking powder
1/2 tsp baking soda
1/2 tsp salt
1/2 cup unsalted butter, room temperature
1 1/4 cups granulated sugar
3 large eggs, room temperature
2 tsp vanilla extract
1 cup milk
Step 3: Preparing Your Cake Batter
Preheat the oven to 350°F and grease & line with parchment paper, one 9-inch cake pan.
1. In a large mixing bowl, whisk together the fresh milled whole wheat flour, baking powder, baking soda, and salt. *I mill my flour on such a fine setting that I can sift it without losing much of the bran or germ.
2. In a separate mixing bowl, beat the butter and sugar together with an electric mixer on medium speed until light and fluffy, about 2-3 minutes.
3. Add the eggs, one at a time, beating well after each addition. Beat in the vanilla extract.
4. Gradually add the dry ingredients to the butter mixture, alternating with the milk, beginning and ending with the dry ingredients. Mix until just combined, being careful not to overmix.
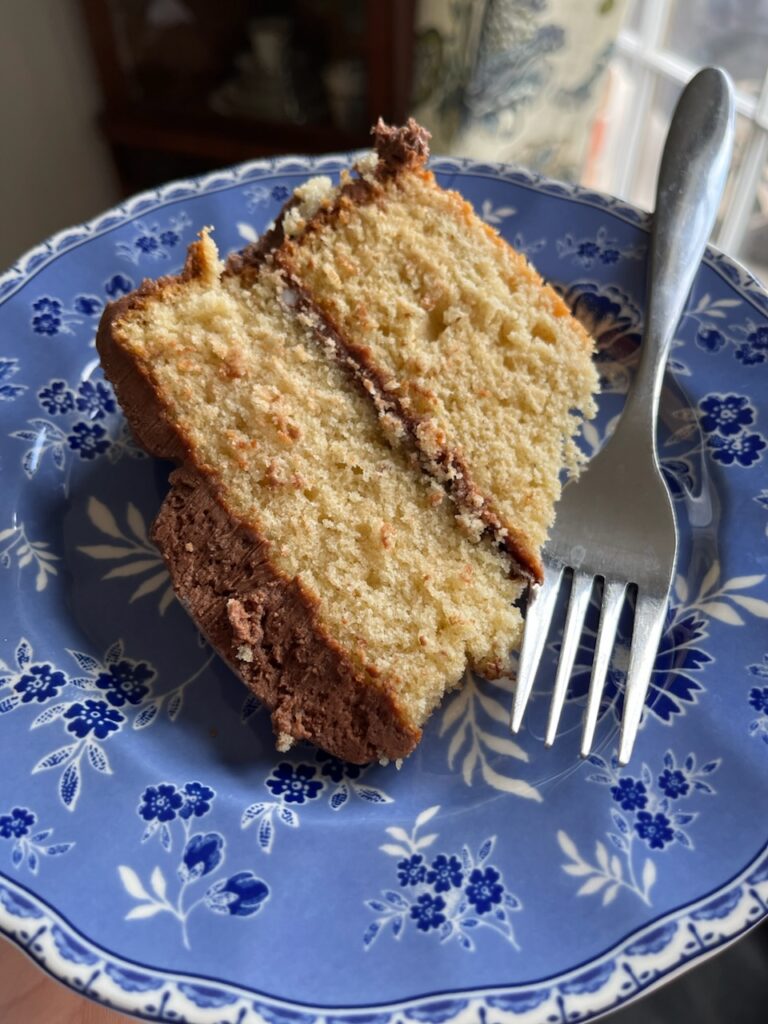
5. Place batter in prepared cake pan. If you want a two layer cake, just make this recipe twice.
6. Bake the cake for 30 minutes, or until a toothpick inserted into the center of the cake comes out clean.
7. Let the cakes cool in the pans for 10 minutes before transferring them to a wire rack to cool completely. Once the cakes are cool, frost and decorate them as desired.
Step 4: Decorating Your Cake
Once the cakes are completely cooled, it’s time to get creative with the decorations! You can frost the cake with your favorite frosting, sprinkle it with colorful sprinkles, and add any other decorations you like to make it a true celebration cake. You can also divide each cake layer in half horizontally to create a two-layer cake without making another recipe. The layers will be much smaller. I made two recipes of this cake two get my layers. Let your creativity soar and have fun decorating your birthday cake! My daughter requested chocolate frosting for her Narnia themed cake. I will share the frosting recipe soon.