

For years I have wanted a fresh garland for the front door. The problem, they are super expensive! Especially when you live in West Texas and there aren’t an abundance of trees available. The solution, DIY and it is super easy!
Here is what you will need…
- Cheap garland (I used two from At Home for $4.99 each but you can get them anywhere.) The key here is to get the cheapest garland. You want the branches to be spaced out, not super full.
- Various fresh green cuttings (I used pine, cedar and a random one I found in our neighborhood. Magnolia would be pretty if you have it.)
- Nails or adhesive for hanging
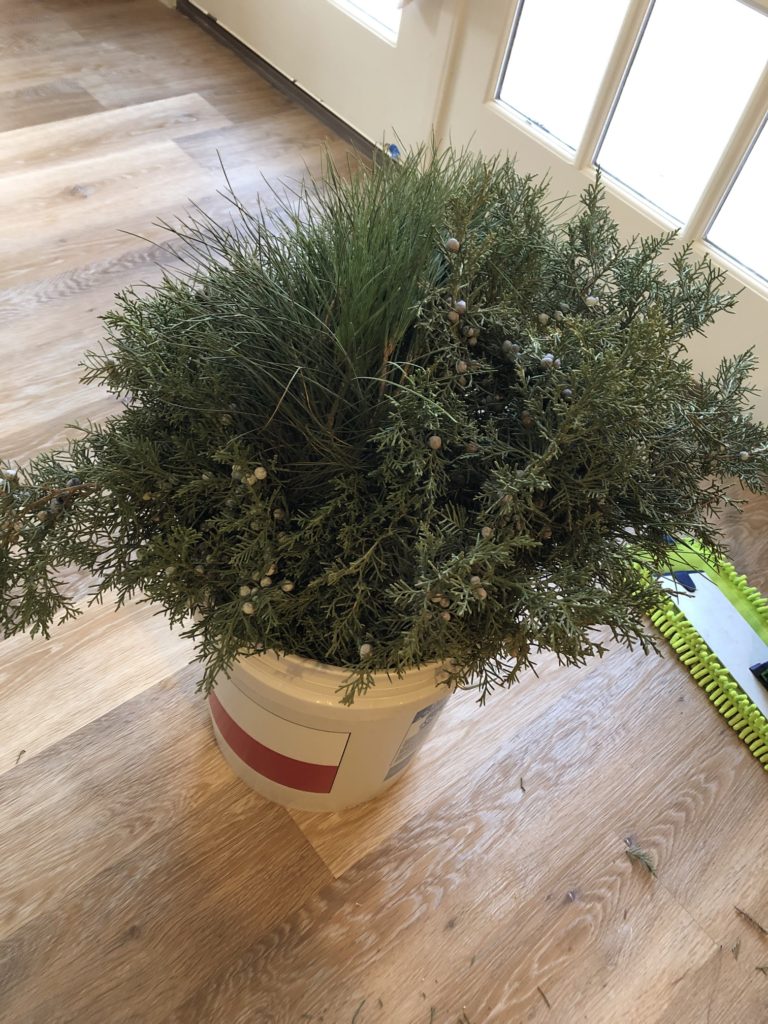
I scavenged for greenery from friends. You can also ask your local hardware store or Christmas tree farm for extra cuttings from trees purchased. To ensure the greenery will stay fresh, place it in water for at least 12 hours.
Once you have the cheap garland and the prepped greenery these are the steps…
Step 1: Prep the cheap garland by pulling apart the branches. You will also need a place to hang the cheap garland so you can more easily add the fresh.
Step 2: Bundle the fresh greenery. You can do this all at once or bundle as you go. I used different combinations of greenery in each bundle to get a better look.
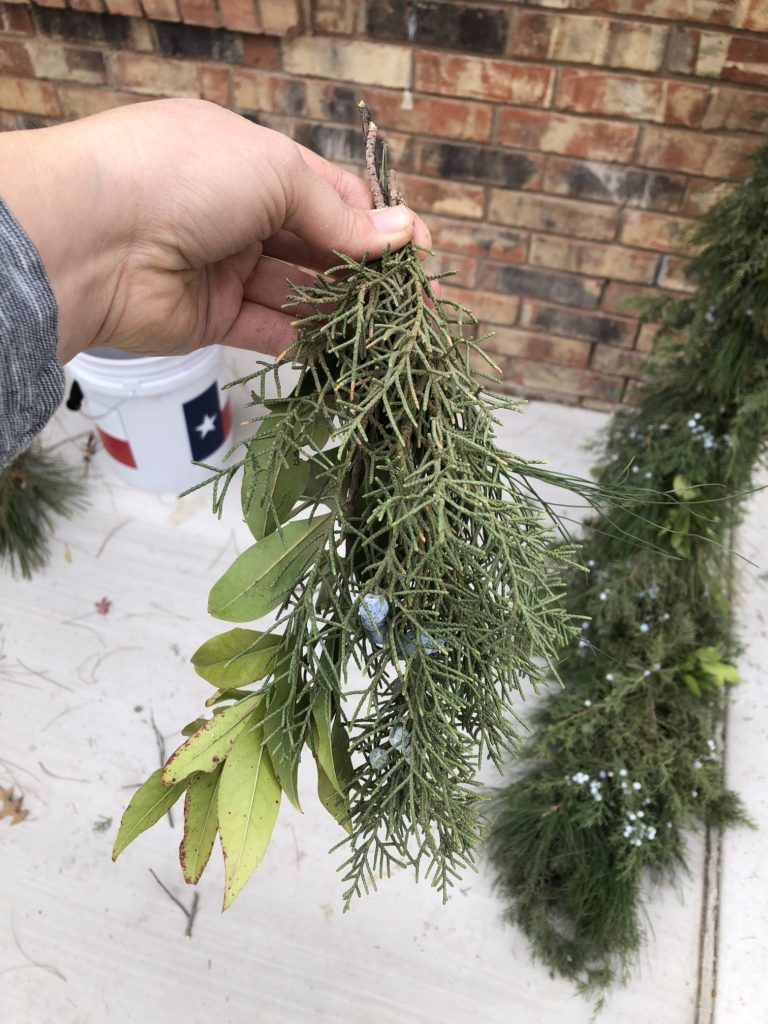
Be sure you keep the bundles at a medium size. If you make them too small the garland will not be nice and full. If you make the bundles too large they will fall down when you hang the garland.
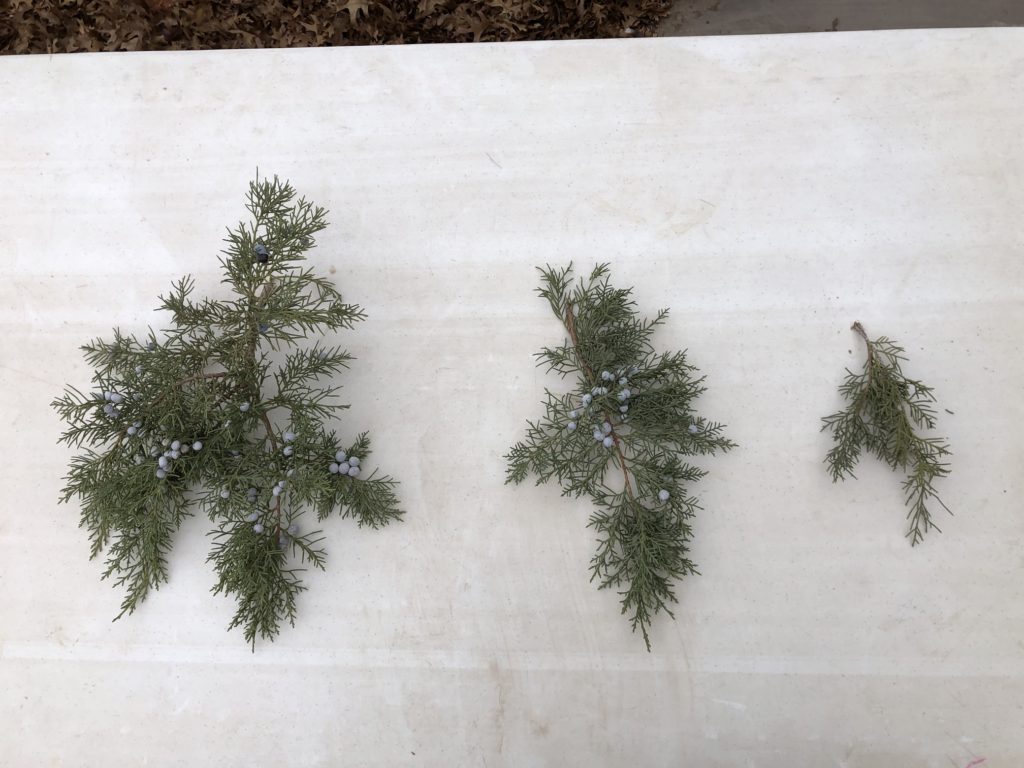
The picture above shows an example with cedar branches. The far left is too large and will hang down when hung, revealing the cheap garland. The far right is too small. The middle is perfect for adding another piece of greenery.
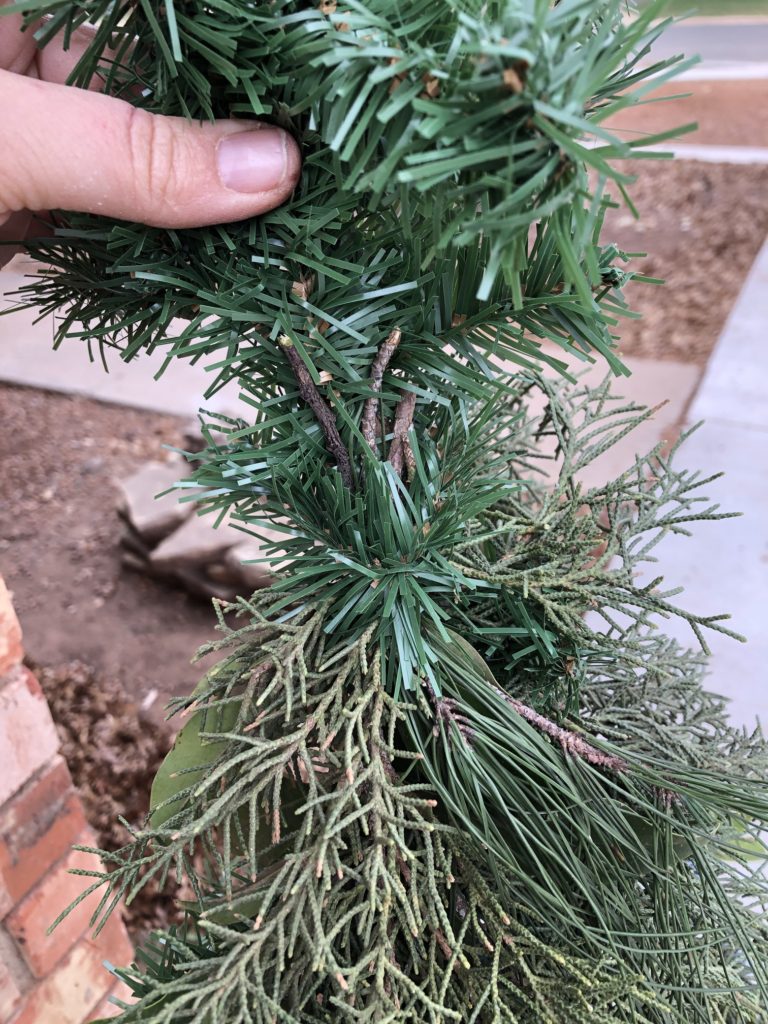
Step 3: Once you have your bundle, starting at the bottom of the cheap garland, take the bundle of fresh greenery and attach it to the garland using two of the cheap garland branches like a twist tie.
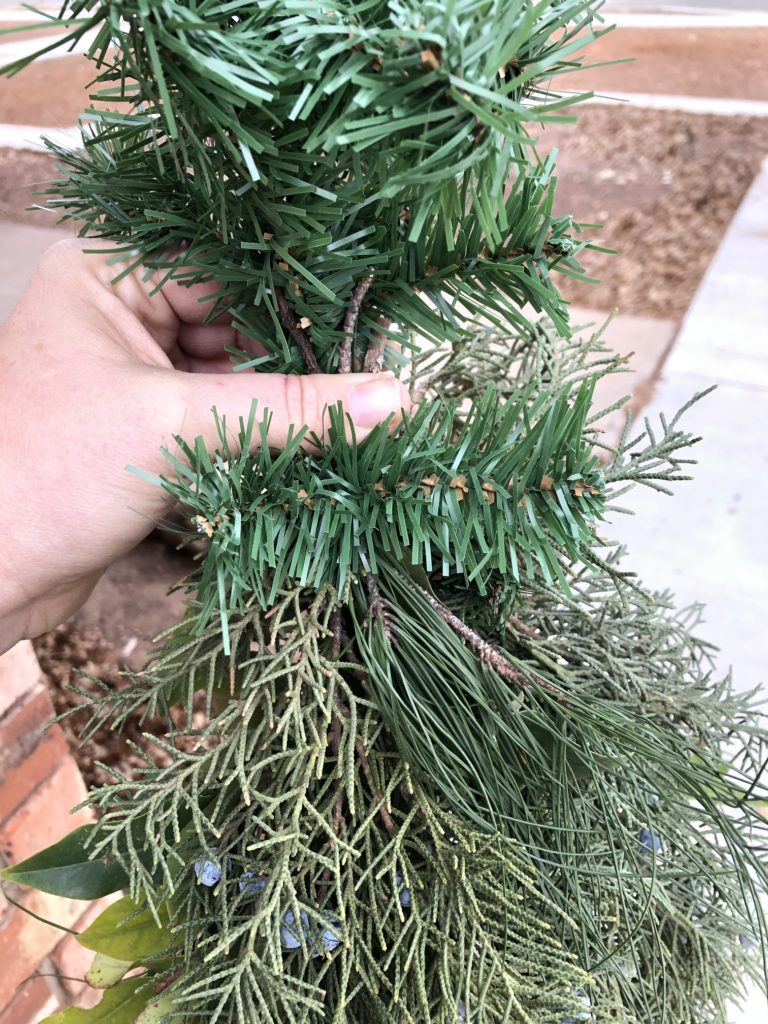
Wrap the cheap branches towards the back so they won’t be seen. (see pic below)
Repeat steps 2 & 3 all the way up the garland. It is helpful to place bundles on the sides and the middle in order to get a fuller look.
Keep going!
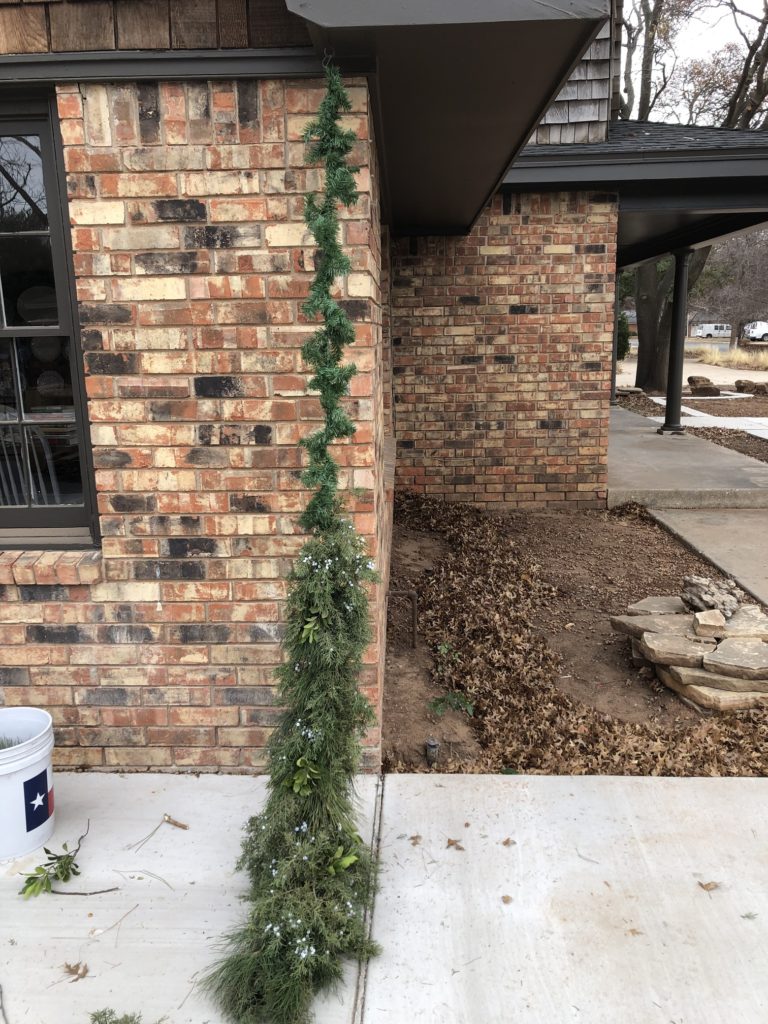
Once you have finished, it is time to hang the garland. You will need to decide how to hang – I chose nails but you could use hooks or possibly even tape if the garland is not too heavy.
Hang one half and then add the second half.
It is best to hang the second piece overlapping the first so you don’t end up with a gap. You may need to fill in the middle with a few additional small bundles just to keep things even.
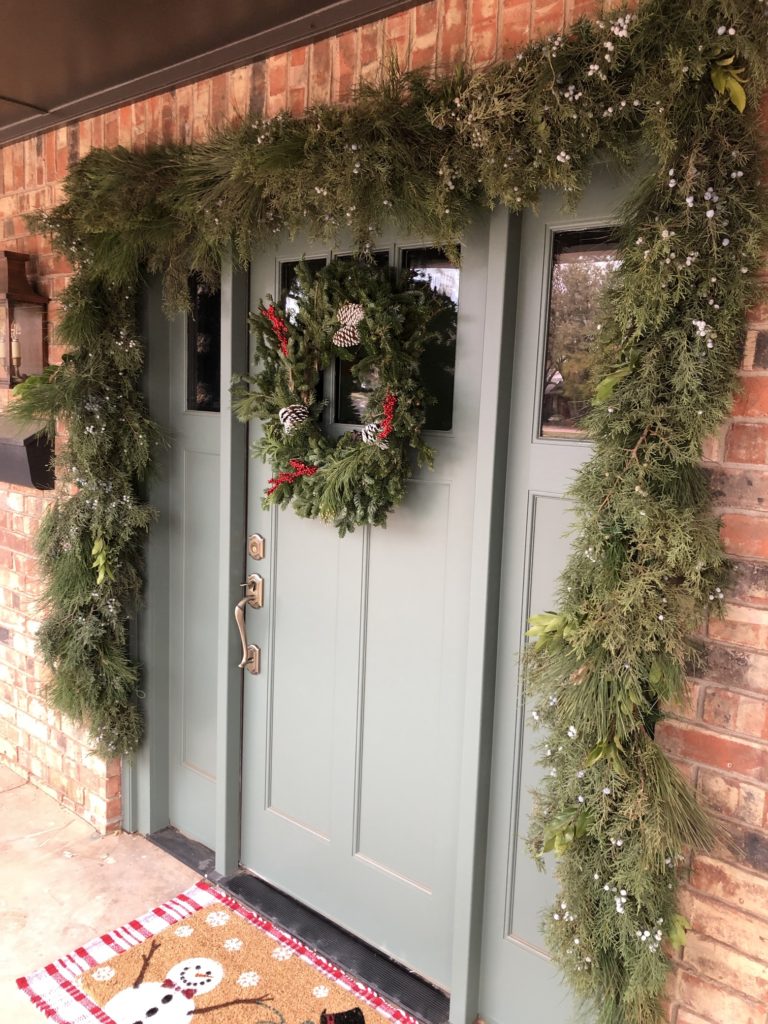
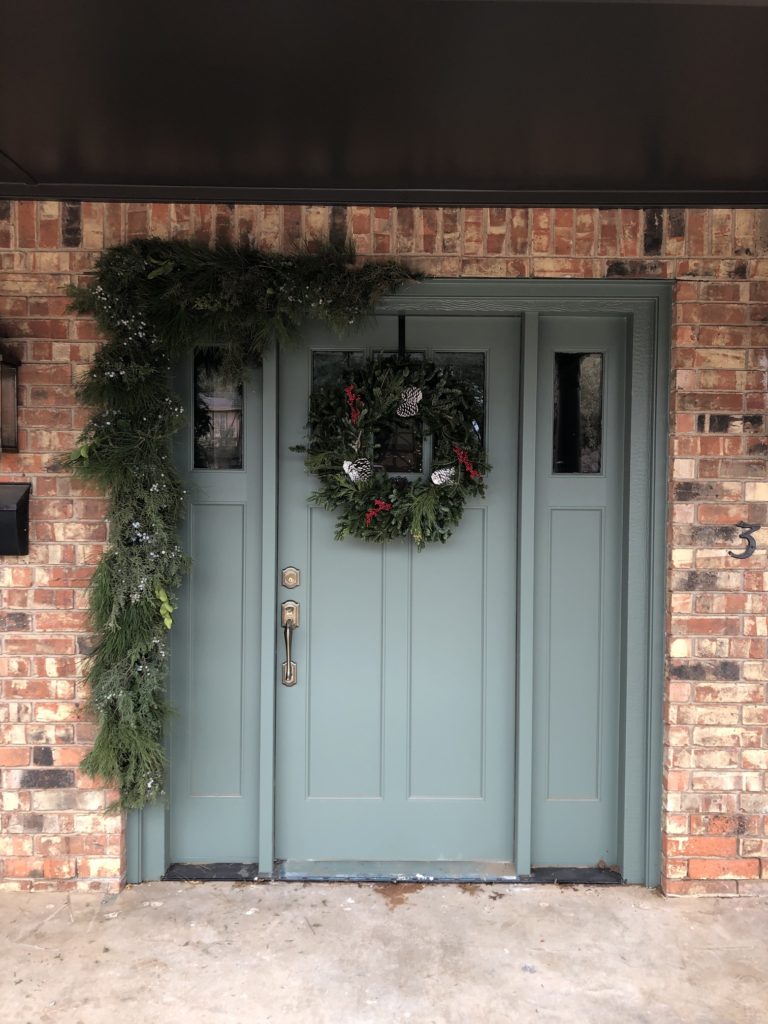
You can add pinecones, berries, ornaments or lights if you like. Check Pinterest for some ideas. I chose to leave mine plain this year but who knows what I will do next year. This garland could be used indoors but beware hanging it near an open flame. To keep the garland fresh spritz it with water once a week.
All told I spent $12 on this gorgeous garland. You can’t beat a deal like that! I didn’t attempt making a wreath- Sams Club and Costco both had affordable options.


