
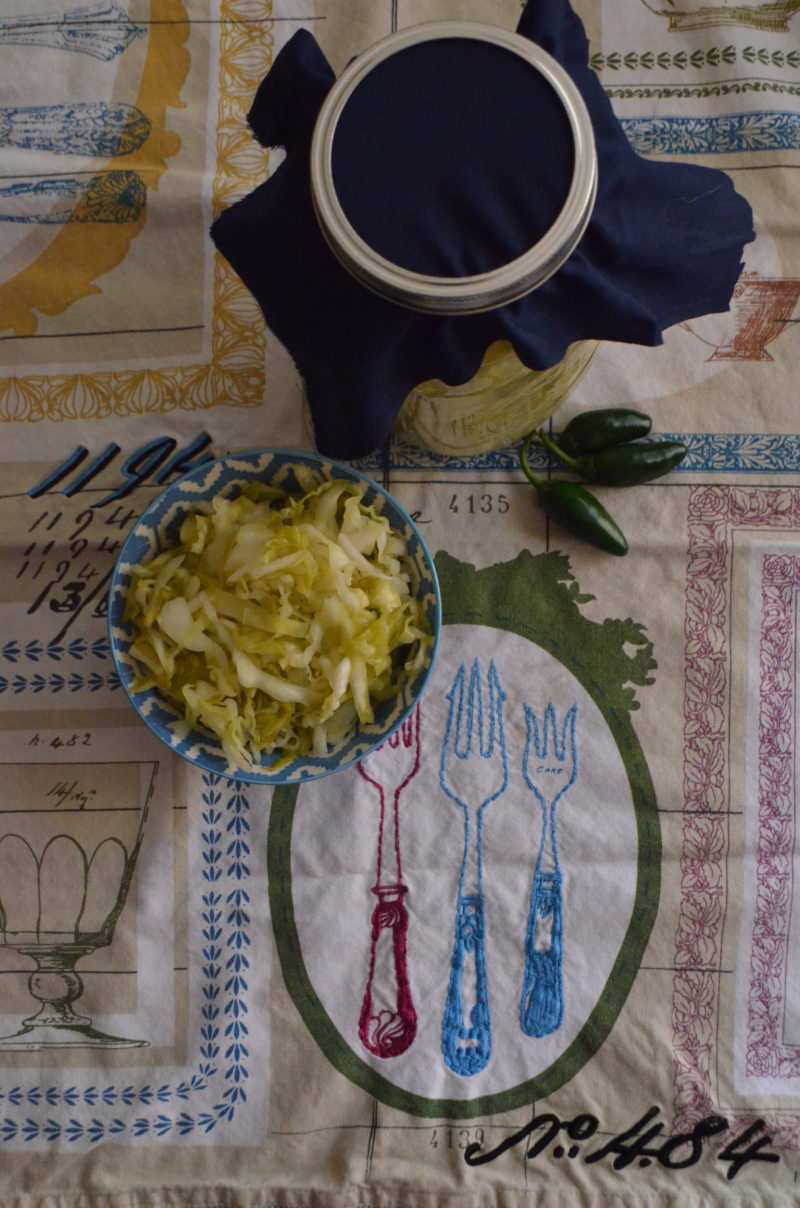
If you are anything like I was a few months ago, the words “homemade sauerkraut” make you nervous. If I am honest, the word “sauerkraut” alone was dreaded since I didn’t like the stuff. Happy to say – I am a sauerkraut convert. Today I was actually eating my latest batch straight out of the jar!! ~gasp~
I originally learned to make sauerkraut from my friend Dina-Marie at My Cultured Palate. I was pretty nervous about making it not only because I was afraid I would mess it up and poison my family but also because I didn’t love the taste. Her recipe is great, I just don’t really like sauerkraut. I do really like pickles so after a bit of practice and a few changes I have come up with a more pickle-y version which I LOVE!
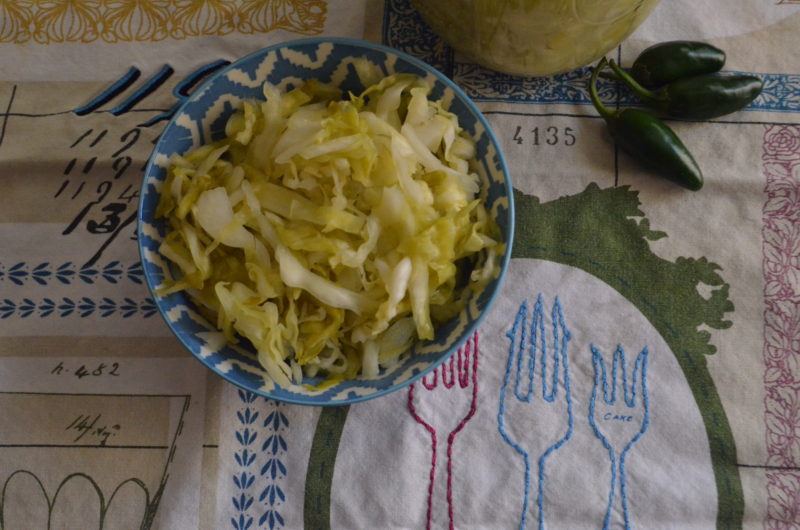
Here is what you need…
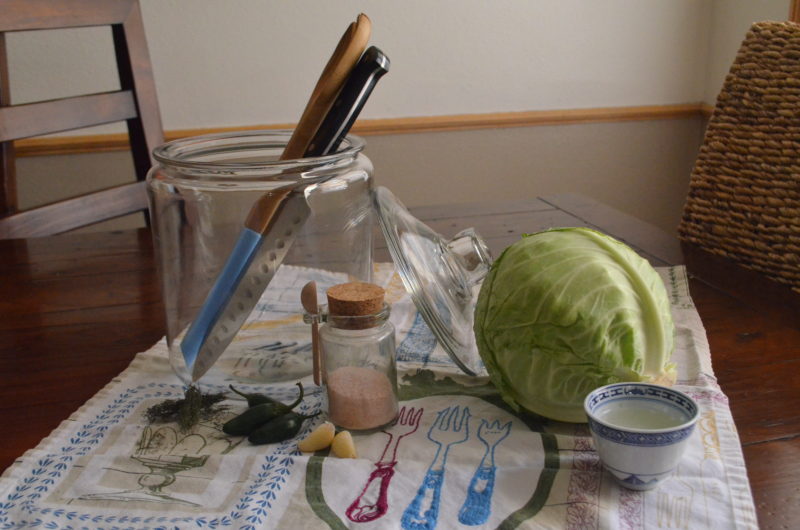
- 1 medium cabbage, thinly sliced – I actually don’t like using the food processor for this because I prefer the texture of chopping by hand.
- 1 TBS mineral salt
- 1-3 small jalapeno peppers, seeded and chopped (leave the seeds if you want it more spicy)
- 1/4 cup sauerkraut juice (I used mine from a previous batch but you could also use store bought, a vegetable starter, or some plain kefir mixed with a little water)
- 1 TBS dill
- 2 garlic cloves, peeled and finely chopped or grated
- spring water – enough to submerge the cabbage at the end (do NOT use tap water)
Be sure and clean all your utensils, bowls and canister (I like the one pictured below). I do this by cleaning them all in the dishwasher and then using them immediately. UPDATE: I recently bought these fermentation weights. They are perfect from wide mouth jars too!
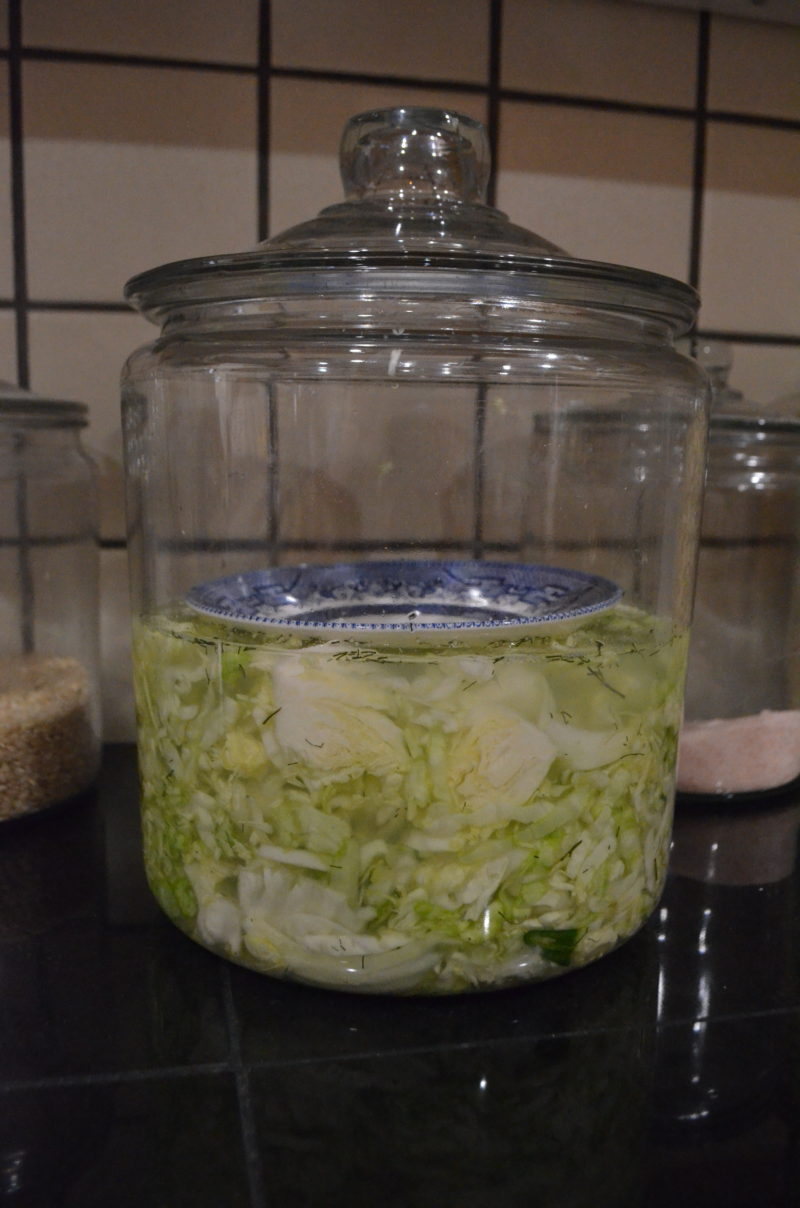
- Chop the cabbage and place it in a bowl or directly into the canister.
- Add the salt and stir, mixing in an up and down motion.
- Let it sit for 10-15 minutes while the cabbage starts releasing its juices (the more juices the better). The salt helps with this as well as inhibiting bad bacteria.
- Add the jalapeno, dill, garlic and starter (whichever version you choose, see above for options) Stir and press the mixture around so that it is evenly distributed.
- Add enough water to just cover the top of the cabbage.
- Be sure and leave at least 1 inch of room at the top of the canister so that as the cabbage swells it won’t overflow.
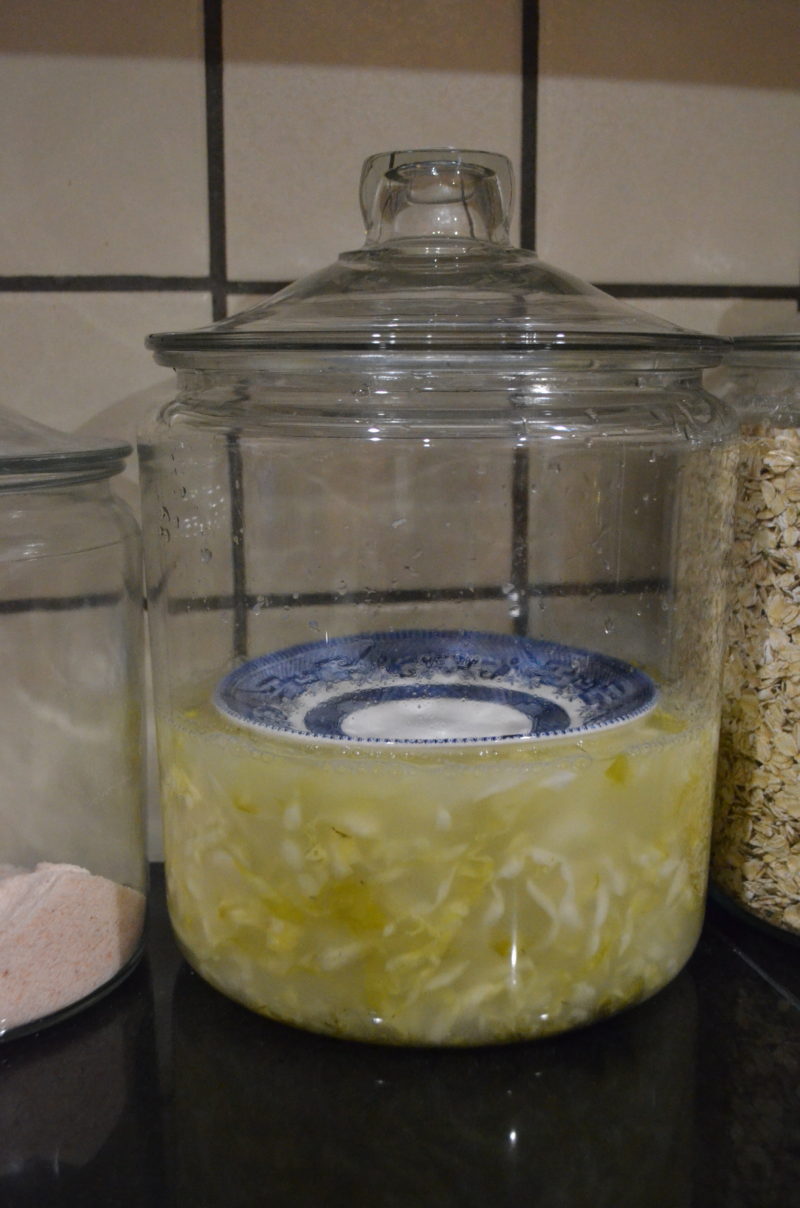
- Place a small plate or bowl on the top of the cabbage to help keep everything under the brine. Then put the canister lid on top.
- Let sit at room temperature for 5-7 days. Stir the cabbage every few days to help keep all ingredients in brine and fermenting evenly. You can begin tasting at day 2 and keep going until you like the taste. Once you like it, transfer the sauerkraut to a large jar or other closed container and place in the refrigerator. It will keep fermenting slowly and will start to mellow in taste.
While on the GAPS diet we will start by using the fermented juice and then eventually add the actual vegetable as well. Store bought lacto-fermented veggies can cost as much as $9+ per jar!! Making your sauerkraut at home will save you a bundle! You can also tweak the recipe to fit your family. We like a spicy pickle flavor right now but I look forward to trying new combinations.
 Feel free to buy using my affiliate links at no extra charge.


